Finding a run from the Runs view
Click Runs in the OpenOps main menu. This opens the list of all runs across all your workflows, with the most recent runs shown first: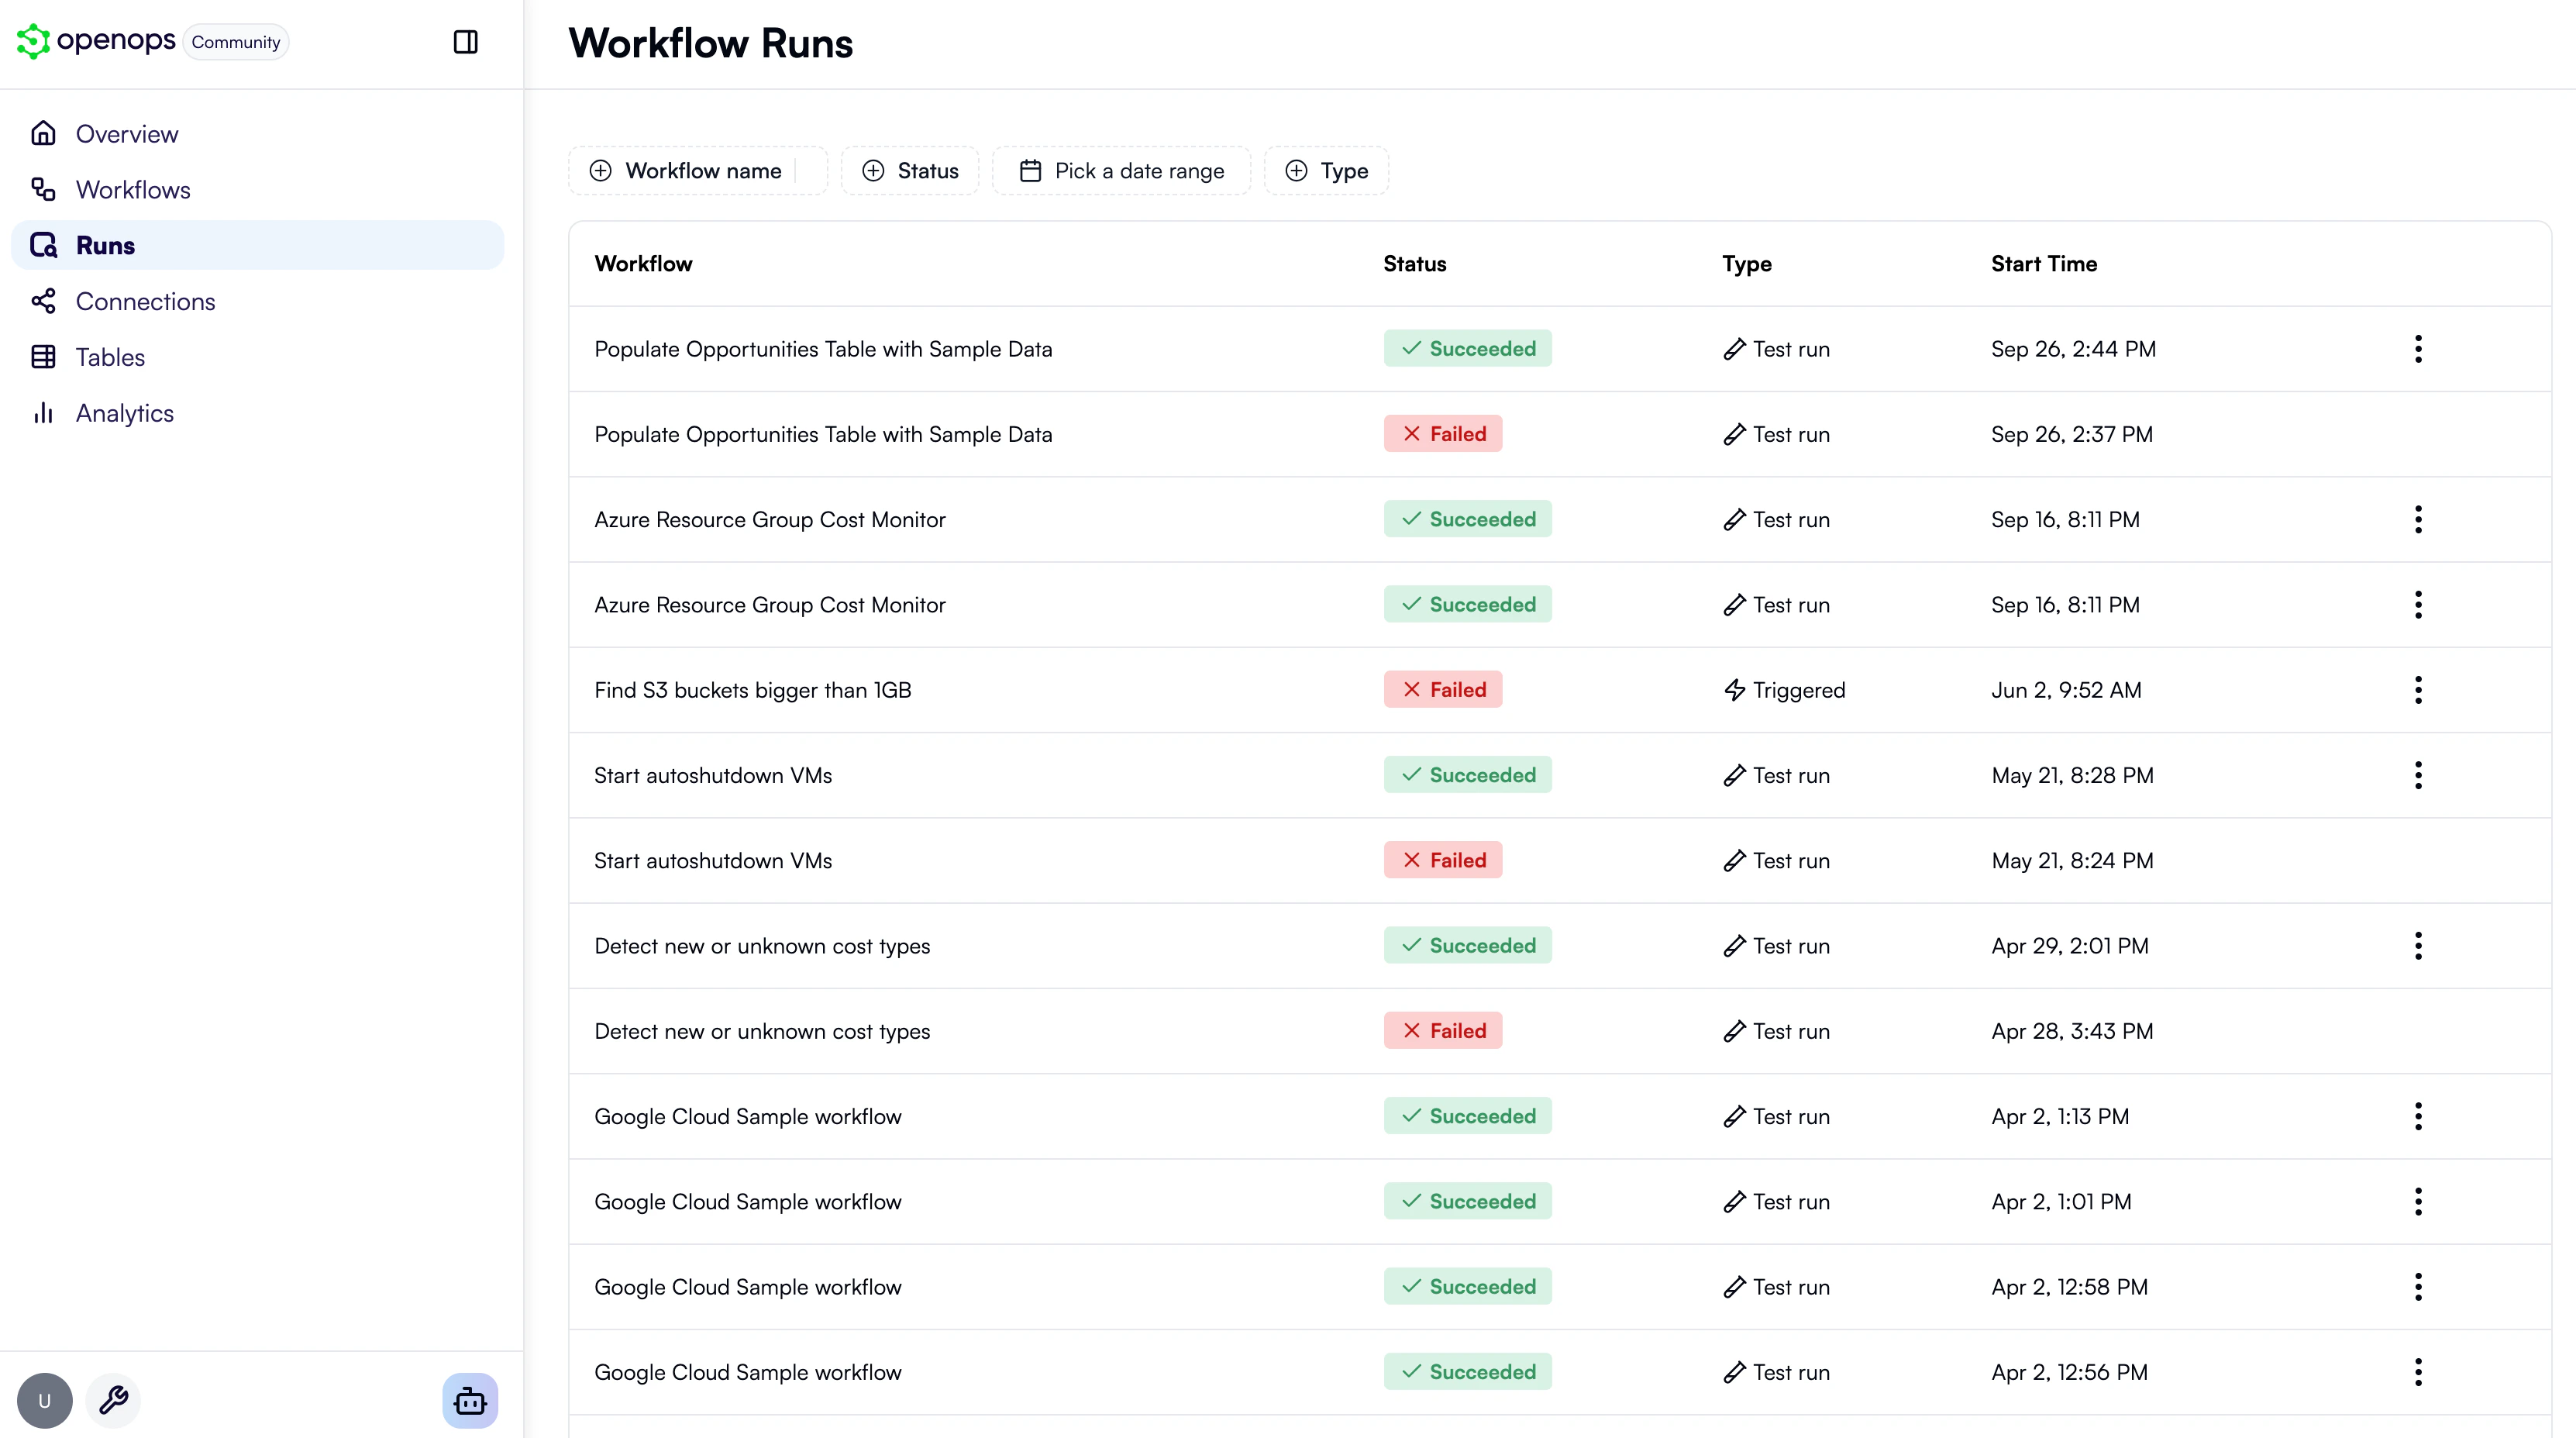
Finding a run from the workflow editor
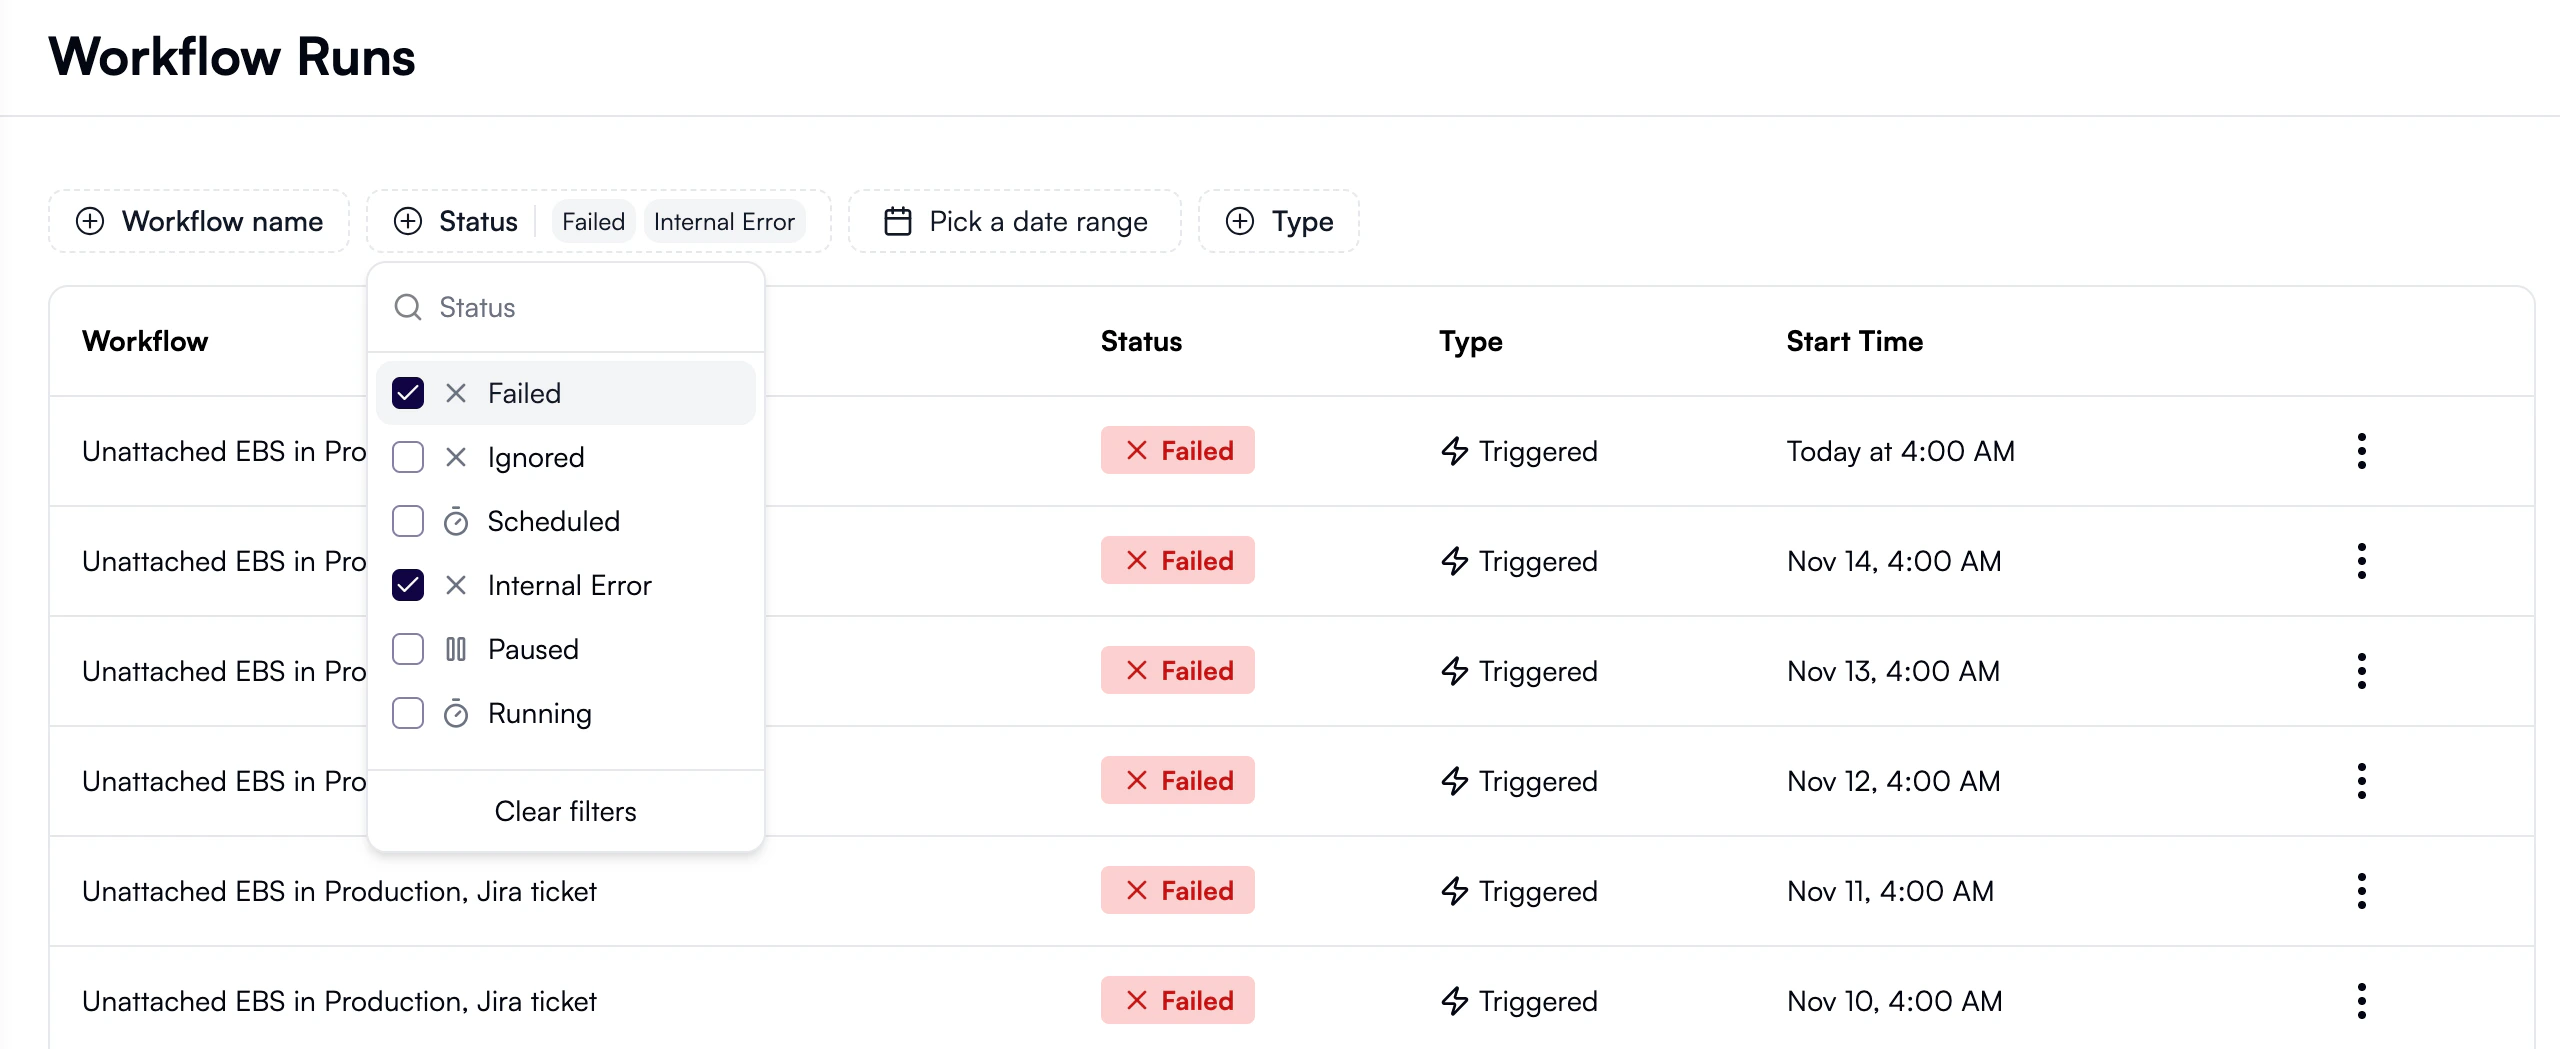
If the workflow you want to investigate is already open in the workflow editor, click Run logs in the top menu: In the Recent Runs pane that opens on the left, click a run that you want to investigate. Failed runs are marked with the ❌ icon: This will open the selected run in the Run Details pane.Investigating in the Run Details view
In the Run Details pane, each workflow step will display a ✅ or a ❌ to indicate its execution status. Click on a failed step to see its inputs and outputs. Explore the outputs to view the error message: To update the workflow to address the error, click Edit in the top-right corner of the workflow editor. This switches the editor from view-only mode, enabling you to select the problematic step and modify its properties.Changing the default timeout
By default, OpenOps times out if a workflow runs for more than 10 minutes. This applies to both scheduled runs and test runs. If you build long-running workflows, you may want to extend the default timeout. To do this, open the.env file in your OpenOps installation directory and add a new environment variable named OPS_FLOW_TIMEOUT_SECONDS. Set its value to the desired timeout in seconds — for example, 900 for 15 minutes or 3600 for 1 hour.
After making any changes to the .env file, restart the OpenOps containers: